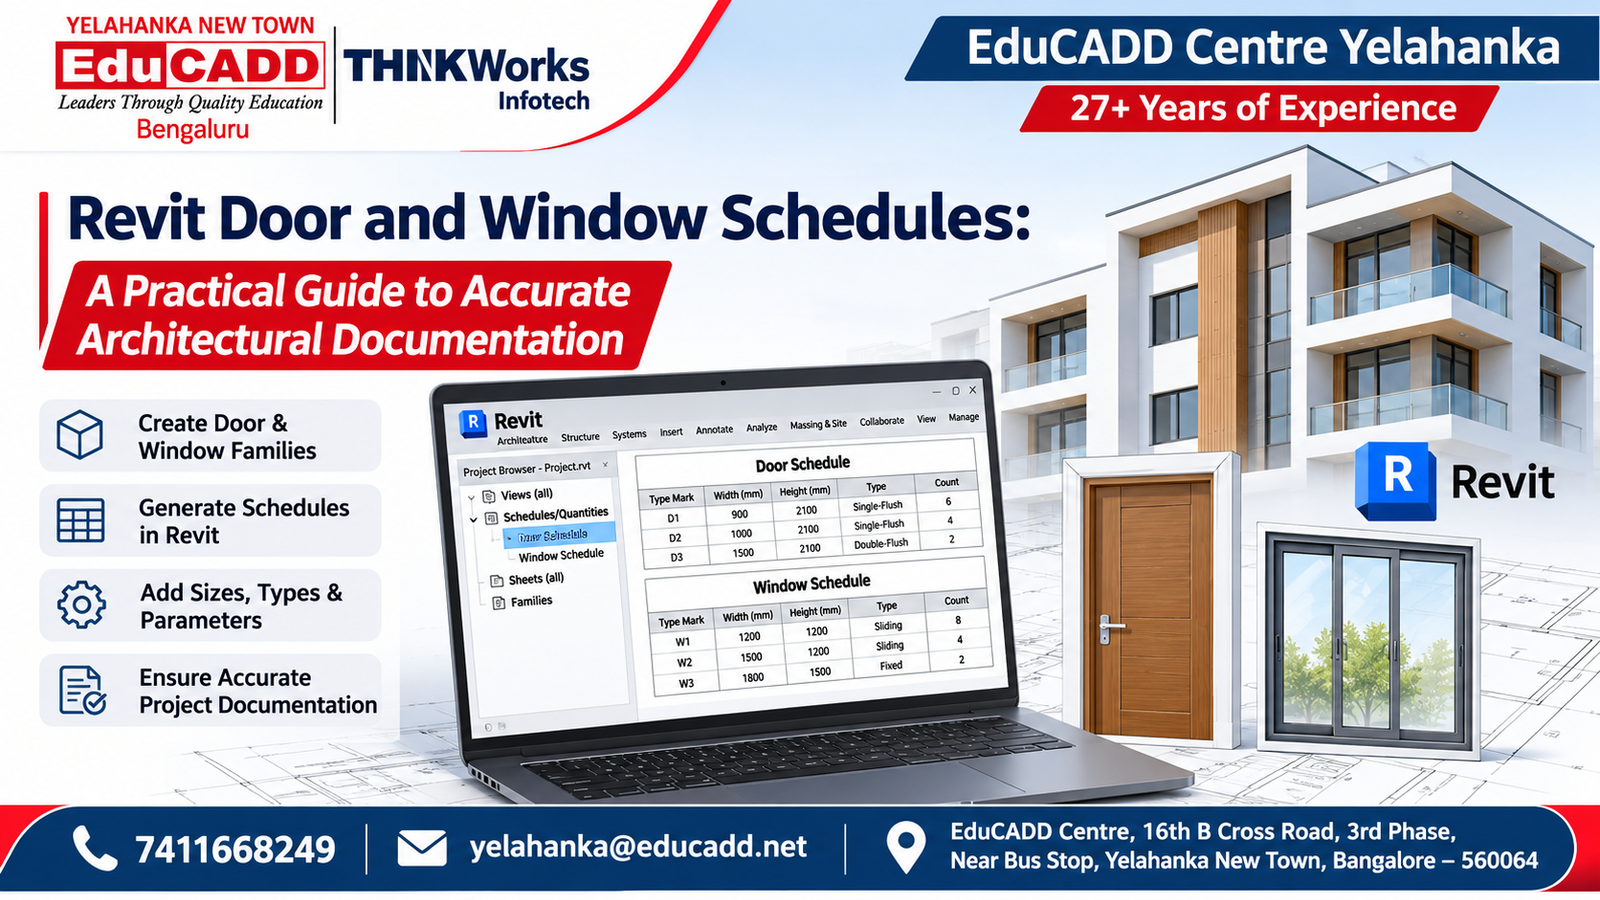
Revit Door and Window Schedules: A Practical Guide to Accurate Architectural Documentation
Introduction
Revit door and window schedules are essential components of architectural construction documentation. They help architects, BIM modelers and building designers organize important information about doors and windows used in a building project.
In architectural projects, a floor plan alone is not sufficient to communicate every detail required for construction. Project teams also need organized information about door types, window sizes, identification marks, levels, materials and other specifications.
Autodesk Revit makes it possible to create schedules directly from architectural building models. Instead of preparing every schedule manually in a separate spreadsheet, designers can organize model information into structured tables.
For architecture students, civil engineering graduates and aspiring BIM professionals searching for Revit Architecture training in Yelahanka, architectural design courses in Bangalore or BIM classes near me, this guide explains how to create professional door and window schedules using Revit.
1. What Are Door and Window Schedules in Revit?
A door schedule is a structured table containing information about doors placed in an architectural model.
Similarly, a window schedule contains information about the windows used in the building.
These schedules help communicate component specifications to architects, contractors, quantity surveyors, suppliers and other project stakeholders.
A typical door schedule may include:
- Door identification mark
- Door family and type
- Door width
- Door height
- Building level
- Door material
- Frame material
- Fire rating, where specified
- Hardware set reference
- Remarks
A typical window schedule may include:
- Window identification mark
- Window family and type
- Window width
- Window height
- Sill height
- Building level
- Frame material
- Glazing specification
- Window type
- Remarks
The actual fields available depend on the loaded Revit families and the parameters defined in the project.
An important advantage: Revit schedules are model-based views. When the underlying model information changes, the corresponding schedule can reflect those changes, provided the relevant parameters are correctly configured.
2. Why Are Door and Window Schedules Important in Architecture?
Door and window schedules support several important architectural activities.
A. Construction Documentation
Contractors need clear information about the different doors and windows required for a building.
Schedules help organize this information in a consistent format.
B. Material and Component Selection
Door and window schedules can record specifications such as:
- Material
- Frame type
- Glazing information
- Component dimensions
- Hardware references
This helps project teams review the intended components.
C. Quantity Verification
Schedules can display the number of doors and windows of different types.
This information can support preliminary quantity reviews and procurement coordination.
However, the schedule must be checked against the correct project phase, model scope and approved design.
D. Design Coordination
Door and window schedules can be reviewed alongside:
- Architectural floor plans
- Building elevations
- Building sections
- Interior layouts
- Wall types
- Structural openings
This helps identify missing information and inconsistencies before construction documentation is issued.
E. Project Revisions
When a door or window type changes in the model, the schedule can reflect the updated model data.
This reduces the need to maintain disconnected lists manually.
3. Understanding Families, Types and Instances in Revit
Before creating schedules, it is important to understand three Revit concepts.
1. Family
A family is a group of building elements that share common characteristics.
For example, a door family may contain different door designs, while a window family may contain different window configurations.
2. Type
A type represents a particular variation within a family.
For example, a door family may contain:
- Single door – 900 × 2100 mm
- Single door – 1000 × 2100 mm
- Double door – 1500 × 2100 mm
These are illustrative dimensions for learning purposes, not prescribed standard sizes.
3. Instance
An instance is an individual element placed in the building model.
For example, a residential building may contain several instances of the same door type in different rooms.
The distinction is important when preparing schedules.
| Parameter type | Application | Example |
|---|---|---|
| Type parameter | Applies to all instances of a particular type | Standard door width |
| Instance parameter | Applies to an individual placed element | Unique door mark |
| Project parameter | Adds project-level information to selected categories | Project-specific component reference |
| Shared parameter | Provides a reusable parameter definition across compatible projects and families | Hardware set reference |
A common mistake among beginners is modifying a type parameter when only one individual door should change.
Understanding parameter behaviour helps maintain accurate schedules.
4. Important Fields in a Revit Door Schedule
A professional door schedule should contain the information needed by the project team.
The following fields are commonly useful.
| Field | Purpose |
|---|---|
| Mark | Unique door identification |
| Level | Building floor location |
| Family and Type | Door family and selected type |
| Width | Door width |
| Height | Door height |
| Type Mark | Door type identification |
| Frame Material | Specified frame material |
| Fire Rating | Project-specified fire rating |
| Hardware Set | Hardware reference |
| Comments | Additional project information |
Some fields may need custom project or shared parameters.
For example, hardware-set information may not exist in a standard door family. The project team may need to create and consistently populate an appropriate parameter.
5. Important Fields in a Revit Window Schedule
A window schedule provides information about the windows used throughout a building.
Common fields include:
| Field | Purpose |
|---|---|
| Mark | Unique window identification |
| Level | Floor location |
| Family and Type | Window family and selected type |
| Width | Window width |
| Height | Window height |
| Sill Height | Window sill position |
| Frame Material | Frame specification |
| Glazing Type | Glazing specification |
| Type Mark | Window type identification |
| Comments | Additional notes |
The glazing and frame information should be based on the project specification and correctly configured family parameters.
6. Step-by-Step: How to Create a Door Schedule in Revit
Let’s understand the process using a hypothetical two-storey residential building.
Assume the project includes:
- Main entrance door
- Bedroom doors
- Bathroom doors
- Kitchen door
- Balcony doors
The objective is to prepare a door schedule that clearly identifies each door.
Step 1: Open the Architectural Revit Project
Open the residential building model.
Check:
- Project units
- Building levels
- Architectural views
- Door families
- Door types
Make sure the required doors are already placed in the model.
Step 2: Verify Door Families and Types
Select individual doors and inspect their properties.
Check whether the required parameters are available.
Verify:
- Family name
- Type name
- Width
- Height
- Material information
- Door identification parameters
If the family does not contain a required field, evaluate whether a suitable project or shared parameter should be added.
Step 3: Assign Door Marks
Each individual door should have an appropriate identification mark according to the project convention.
For example:
- D-01 – Main entrance
- D-02 – Bedroom door
- D-03 – Bathroom door
- D-04 – Kitchen door
- D-05 – Balcony door
These marks are illustrative.
Use a consistent identification system throughout the building model and documentation.
Step 4: Create a New Door Schedule
Go to:
View → Create → Schedules → Schedule/Quantities
In the New Schedule window:
- Select the Doors category.
- Choose Schedule building components.
- Enter an appropriate schedule name.
- Select the required project phase.
- Click OK.
Revit opens the Schedule Properties dialog.
Autodesk explains this workflow in its official Create a Schedule or Quantity documentation.
Step 5: Select the Required Fields
Open the Fields tab.
Add the required parameters from the available fields list.
For a basic door schedule, consider:
- Mark
- Level
- Family and Type
- Width
- Height
- Type Mark
- Comments
Add additional parameters according to the project’s requirements.
Arrange the columns in a logical order.
See Autodesk’s Select Fields for a Schedule guide.
Step 6: Sort and Group the Door Schedule
Open the Sorting/Grouping tab.
You can organize the schedule using fields such as:
- Level
- Family and Type
- Mark
For example, sorting by Level and then Mark can make it easier to review doors floor by floor.
You can also choose whether each door instance should appear on a separate row.
For a detailed door identification schedule, keeping individual instances itemized is generally useful.
Refer to Autodesk’s Sort and Group Fields in a Schedule documentation.
Step 7: Apply Filters
Filters help display only the required information.
For example, you may create separate schedules for:
- Ground-floor doors
- First-floor doors
- External doors
- Internal doors
You can filter using appropriate parameters such as Level, Type Mark or a project-specific classification.
Refer to Autodesk’s Filter Data in a Schedule guide.
Step 8: Format the Schedule
Open the Formatting and Appearance tabs.
Adjust:
- Column headings
- Column widths
- Text alignment
- Units
- Font size
- Gridlines
- Header presentation
- Row appearance
The objective is to make the schedule readable when placed on an architectural drawing sheet.
Step 9: Review the Door Schedule
Check:
- Missing door marks
- Duplicate marks
- Incorrect dimensions
- Missing family information
- Incorrect level assignments
- Blank project-specific parameters
Compare the schedule with the architectural floor plans.
Step 10: Place the Schedule on a Drawing Sheet
Create or open the appropriate architectural sheet.
Drag the door schedule onto the sheet.
Adjust its position and presentation.
Ensure that the schedule does not overlap other drawing views or important sheet information.
7. Step-by-Step: How to Create a Window Schedule in Revit
The window schedule follows a similar process.
Step 1: Check Window Families
Verify that all required windows are loaded and placed in the building model.
Step 2: Verify Window Types
Review:
- Window family
- Window type
- Width
- Height
- Sill height
- Material parameters
Step 3: Assign Window Marks
Use a consistent identification system.
For example:
- W-01 – Living room window
- W-02 – Bedroom window
- W-03 – Kitchen window
- W-04 – Staircase window
Step 4: Create a Window Schedule
Go to:
View → Create → Schedules → Schedule/Quantities.
Select Windows as the category.
Step 5: Add Required Fields
Add:
- Mark
- Level
- Family and Type
- Width
- Height
- Sill Height
- Type Mark
- Comments
Include other project-specific parameters when needed.
Step 6: Sort and Filter the Information
Arrange windows by floor or type.
For example, create a schedule containing only first-floor windows.
Step 7: Format the Schedule
Adjust the table appearance and check that all column information is readable.
Step 8: Place the Window Schedule on the Sheet
Position the schedule alongside the relevant architectural drawing views.
Review the schedule against the elevations and floor plans before issuing the drawing.
8. Practical Example: Residential Door and Window Schedules
Consider a hypothetical two-storey residential building.
The following tables illustrate how the schedule information may be organized.
Sample Door Schedule
| Mark | Location | Width | Height |
|---|---|---|---|
| D-01 | Main entrance | 1000 mm | 2100 mm |
| D-02 | Bedroom | 900 mm | 2100 mm |
| D-03 | Bathroom | 750 mm | 2100 mm |
| D-04 | Kitchen | 900 mm | 2100 mm |
| D-05 | Balcony | 900 mm | 2100 mm |
Sample Window Schedule
| Mark | Location | Width | Height |
|---|---|---|---|
| W-01 | Living room | 1500 mm | 1200 mm |
| W-02 | Bedroom | 1200 mm | 1200 mm |
| W-03 | Kitchen | 900 mm | 900 mm |
| W-04 | Staircase | 600 mm | 1200 mm |
These values are hypothetical educational examples. Actual dimensions must follow the approved architectural design and project requirements.
In a real Revit project, the schedules would be generated from the door and window instances and their associated parameters.
9. How to Use Custom Parameters in Revit Schedules
Standard parameters may not contain all the information required by an architectural project.
For example, a project may require:
- Hardware set identification
- Acoustic performance reference
- Glazing specification
- Door finish
- Frame finish
- Supplier reference
- Specification section
These can be managed through appropriate project or shared parameters.
Project Parameters
Project parameters can be added to selected categories for project-specific information.
Shared Parameters
Shared parameters provide reusable definitions that can be used across compatible families and projects.
They are particularly useful when a parameter must be consistently available for tagging or scheduling across multiple families.
Practical Example
Suppose the architectural team needs to record the hardware set associated with each door.
A suitable project parameter can be created and added to the Door category.
The designer can then populate the information for the relevant doors and include that parameter in the schedule.
Always maintain a consistent parameter naming convention across the project.
10. Common Mistakes in Revit Door and Window Schedules
Beginners should avoid the following errors.
1. Duplicate Door Marks
Duplicate identification marks can confuse construction teams and drawing reviewers.
Use a clear numbering convention and check the schedule before issue.
2. Incorrect Type and Instance Parameters
Changing a type parameter can affect all instances of that type.
Understand whether a value should apply to a type or an individual element.
3. Missing Family Parameters
Some downloaded or customized families may not contain all required schedule fields.
Check the family before starting documentation.
4. Inconsistent Naming Conventions
Using different names for the same type of component can make schedules difficult to organize.
5. Incorrect Dimensions
Check that scheduled dimensions match the intended family geometry and project requirements.
6. Incorrect Filters
A filter may unintentionally hide elements from the schedule.
Check the filter conditions and compare the results with the model.
7. Missing Windows or Doors
Verify that the required building components have been placed in the model and are included in the correct schedule phase and category.
8. Poor Schedule Formatting
Overcrowded columns and small text can make schedules difficult to read.
9. Not Reviewing Drawing Sheets
Always review the final sheet to ensure that the schedule and related floor plans are consistent.
11. How to Improve Architectural Documentation Quality
A professional architectural documentation package should include more than door and window schedules.
For a residential building, consider preparing:
- Architectural floor plans
- Building elevations
- Building sections
- Door schedules
- Window schedules
- Room schedules
- Staircase details
- Toilet details
- Kitchen details
- Wall and floor finish schedules, where required
- Construction details
- Drawing sheets and title blocks
Each drawing should have a clear purpose and should be coordinated with the other project documents.
The schedules should be reviewed against the architectural model before drawings are issued for construction.
12. Practical Revit Architecture Projects for Students
Students can strengthen their skills by working on complete architectural documentation exercises.
Project 1: Residential Door and Window Schedule
Prepare a two-storey house model and create separate door and window schedules.
Practise:
- Family selection
- Type management
- Instance marking
- Parameter management
- Sorting
- Filtering
- Sheet placement
Project 2: Commercial Building Documentation
Prepare a small commercial building model containing different door and window types.
Develop:
- Architectural plans
- Elevations
- Sections
- Door schedule
- Window schedule
- Drawing sheets
Project 3: Multi-Floor Building Schedule
Create a model containing multiple floors.
Prepare separate or consolidated schedules according to the project documentation requirements.
Project 4: Architectural BIM Documentation Package
Develop a complete Revit Architecture project with:
- Levels and grids
- Walls and floors
- Doors and windows
- Roofs
- Stairs
- Architectural views
- Schedules
- Annotations
- Construction drawing sheets
- 3D presentation views
These projects can help students develop a portfolio that demonstrates both modelling and documentation skills.
13. Career Opportunities After Revit Architecture Training
Learning Revit Architecture can help students prepare for opportunities in architectural drafting, BIM modelling and construction documentation.
Possible career roles include:
Revit Architecture Modeler
Develops architectural building models and related documentation.
BIM Architectural Modeler
Works on architectural BIM models, schedules, views and project information.
Architectural CAD Designer
Prepares and modifies architectural drawings and technical documentation.
Architectural Draftsman
Develops floor plans, elevations, sections and construction drawings.
BIM Documentation Assistant
Supports the preparation and organization of architectural documentation.
Junior BIM Technician
Assists with BIM model development, coordination and project documentation.
Architectural Design Assistant
Supports architectural teams with modelling, drafting and presentation tasks.
Employers may also expect knowledge of building construction, architectural design principles, drawing interpretation and practical project workflows.
Learning Revit alone does not qualify someone to independently provide regulated architectural services. Career opportunities depend on educational qualifications, technical competence, experience and employer requirements.
14. Revit Architecture Training in Yelahanka, Bangalore at EduCADD Centre
Are you searching for:
- Revit Architecture course in Yelahanka?
- Revit Architecture training in Bangalore?
- Architectural design courses near me?
- BIM Architecture training in Yelahanka New Town?
- Revit building modelling classes?
- Architectural drafting courses in North Bangalore?
- Revit floor plan and elevation training?
- Architectural construction drawing courses?
- Revit Architecture course with placement assistance?
EduCADD Centre Yelahanka offers Revit Architecture training options for civil engineering students, architecture students, diploma holders, graduates, designers and working professionals.
With 27+ years of experience, EduCADD Centre focuses on practical software education, architectural modelling, drawing documentation and project-based learning.
The published Revit Architecture course covers:
Revit Fundamentals
- BIM concepts
- Revit interface
- Project setup
- Units, levels and grids
- Project navigation
Architectural Modelling
- Walls and wall types
- Doors and windows
- Floors and ceilings
- Roofs
- Stairs and railings
- Architectural components
Architectural Documentation
- Floor plans
- Elevations
- Sections
- Dimensions
- Annotations
- Tags
- Door and window schedules
- Construction drawings
- Drawing sheets
Visualization and Practical Projects
- 3D building modelling
- Materials and appearances
- Presentation views
- Architectural project development
- Documentation and final presentation
Explore the Revit Architecture Course Training at EduCADD Centre Yelahanka for the published syllabus and training details.
You can also explore the EduCADD CADD Courses Directory to understand other Civil CADD, BIM, Architecture and Interior Design software training options.
Students can contact the centre to confirm current course availability, syllabus, batch timings, fees and duration.
EduCADD Centre provides practical project guidance, portfolio development support, resume assistance, interview preparation and placement assistance for eligible students. Placement assistance does not guarantee employment.
Conclusion
Revit door and window schedules are an important part of architectural BIM documentation.
Understanding families, types, instances, parameters, identification marks, schedule fields, sorting and filtering helps designers prepare organized building documentation.
By working on residential and commercial building projects, students can develop practical skills in architectural modelling, component scheduling and construction drawing preparation.
If you want to develop practical Revit Architecture and BIM documentation skills, explore the Revit Architecture training options at EduCADD Centre Yelahanka, Bangalore.
Learn. Practise. Model. Document. Build your architectural design skills with EduCADD Centre Yelahanka.
Contact EduCADD Centre Yelahanka
27+ Years of Experience
Phone: 7411668249
Email: yelahanka@educadd.net
Address: EduCADD Centre, 16th B Cross Road, 3rd Phase, Near Bus Stop, Yelahanka New Town, Bangalore – 560064
Website: https://www.educaddcentre.in
EduCADD Centre – Leaders Through Quality Education.